Nail your build before your first cut

Learn Autodesk Fusion fast with Bob Clagett through practical projects, and test-fit your ideas in 3D before you build.

Get the course for $180Or two monthly payments of $90
  • 7k+ makers enrolled
  • No CAD skills needed
  • Refund anytime
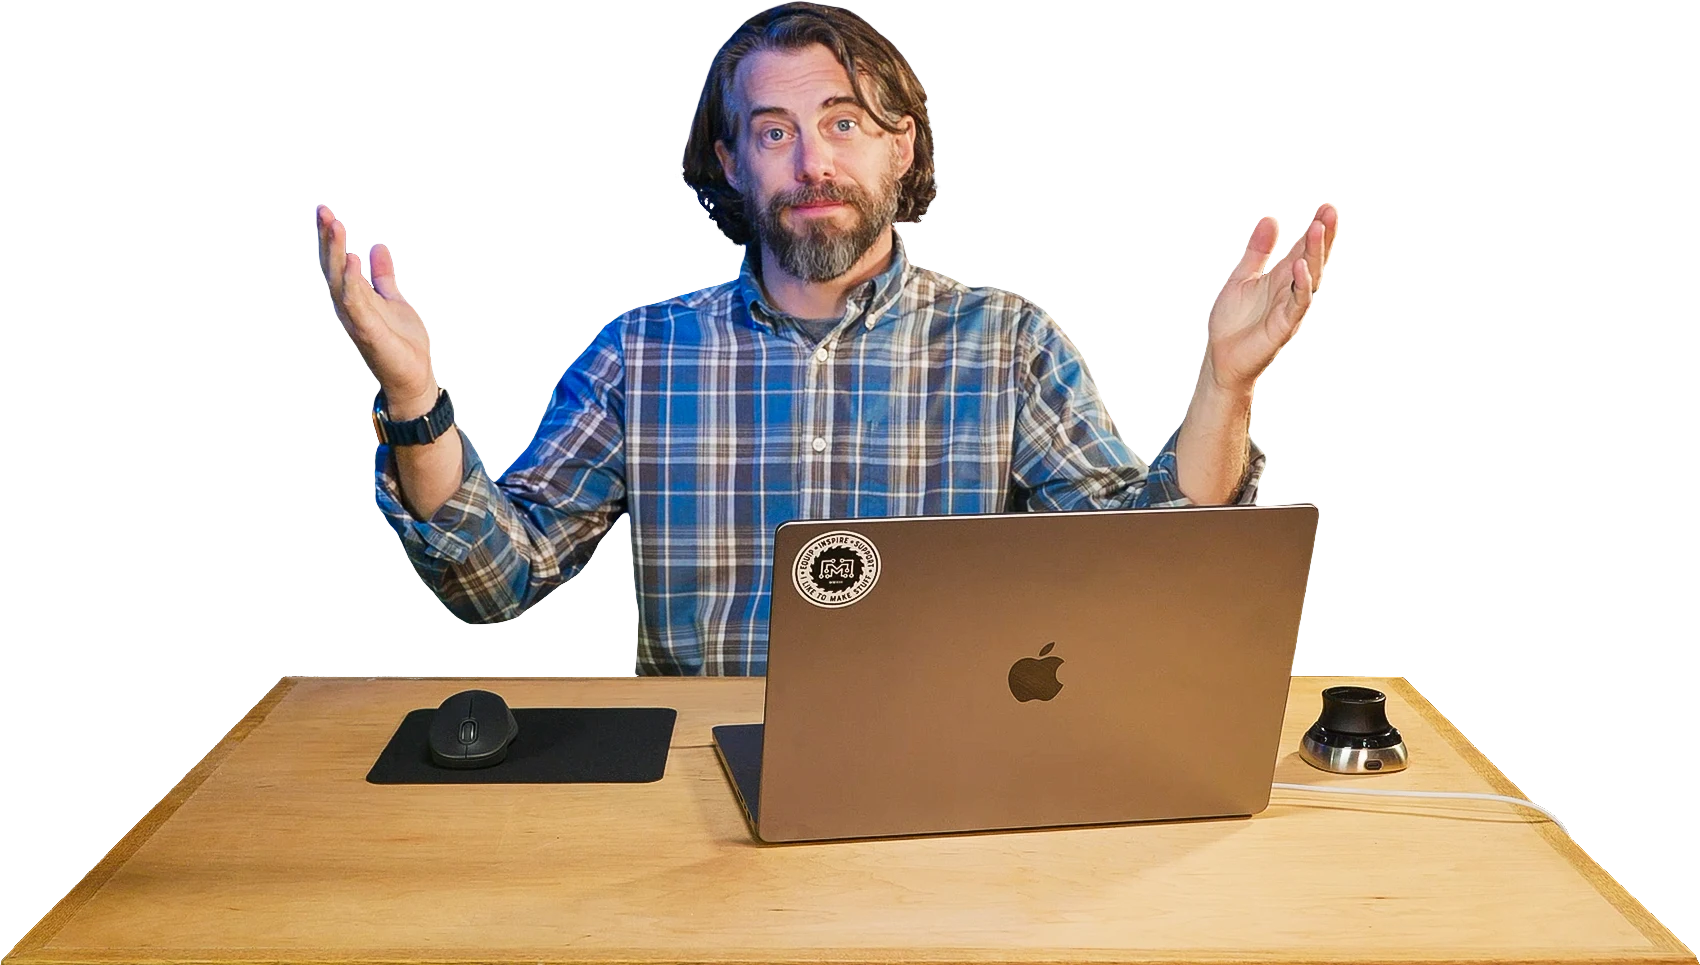
Bob Clagett at his workbench with a laptop, hands raised.

Bob ClagettI Like To Make Stuff (opens in a new tab)3M+ subscribers

Watch the 1-minute intro.

Hear how we'll take you through Fusion one small piece at a time, from the first lesson until it's a tool you use with confidence.

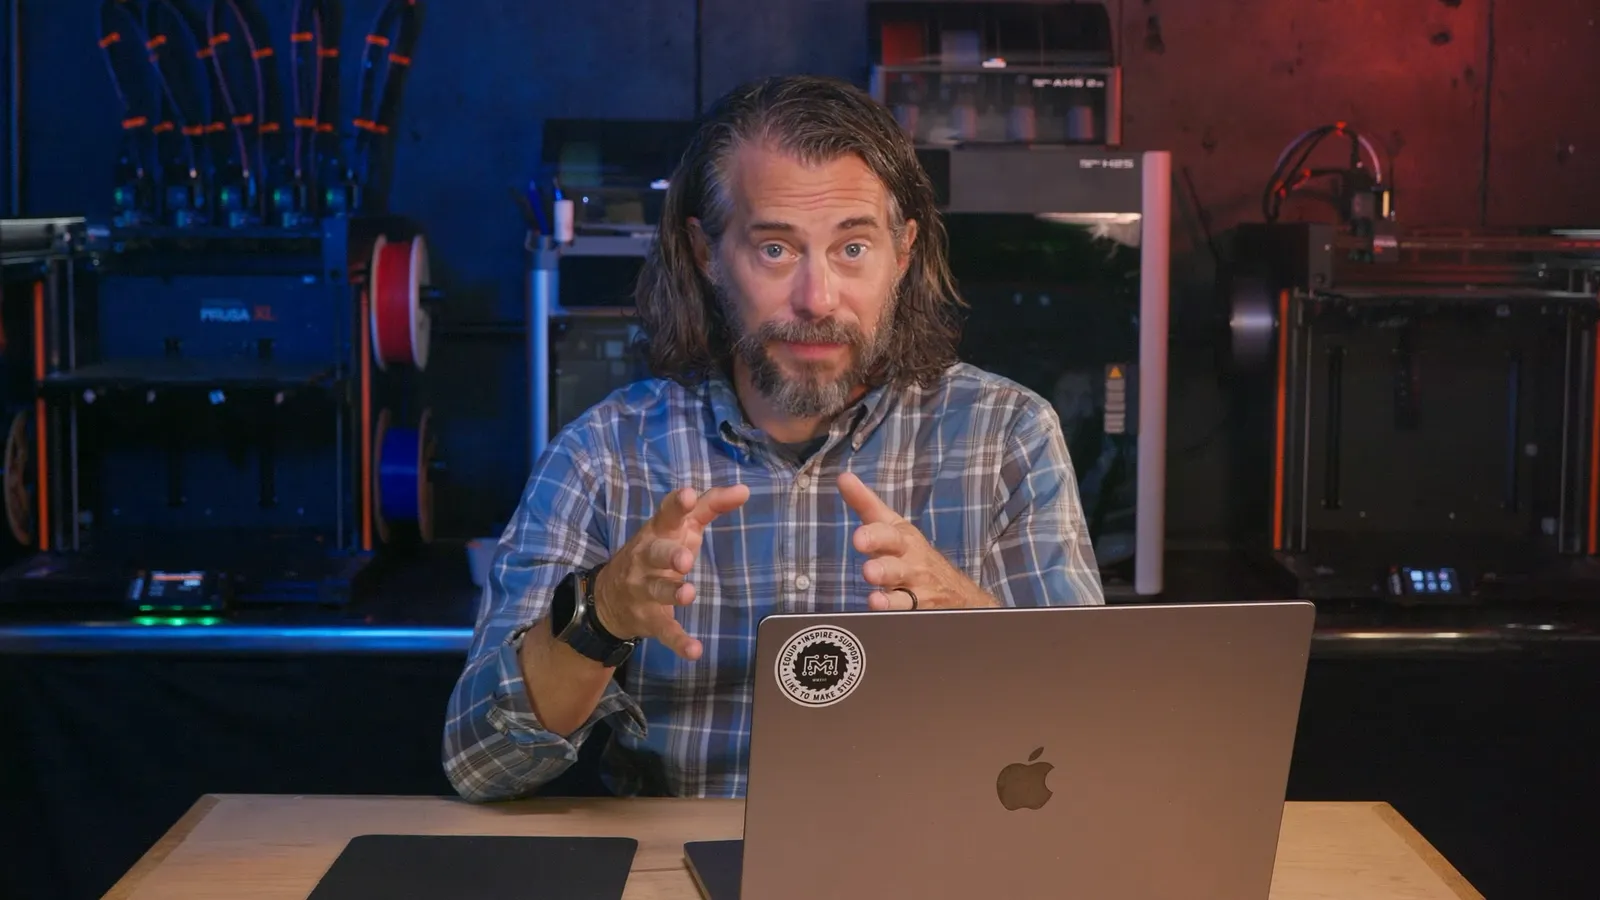
Bob Clagett at his desk, talking to the camera. Play intro

I have never used any kind of design software and now with this course I feel that I have a very good base to start from.

Steven F.

I wish I would have done this years ago instead of just fumbling my way through projects for the last several years.

Nick T.

Change your mind without starting over.

Try a different size without redrawing every part. When you change this bookcase's depth from 18 inches to 12, the shelves and panels move with it. That's parametric modeling, and you'll learn what to do when a part doesn't follow along.

Bookcase modelA 36 inch wide, 48 inch tall bookcase drawn in 3D. Its depth moves between 12 and 18 inches as the total depth parameter changes, and every part follows.
Parameters
NameValue
total_width36 in
total_height48 in
total_depth18 in
material_thickness3/4 in
toe_kick_height3.5 in

What you'll build.

You don't need CAD experience to follow along. We start with a wooden bookcase and explain each step as we go. Then a replacement knob and a parts tray show you how the same ideas carry over to 3D printing and CNC. You can model all three without owning either machine.

A bookcase sized for your space

It starts with a few dimensions and a sketch of one shelf, and ends as a bookcase with a door that opens. If your own models have fallen apart when you edited them, you'll see why a part stops following and how to fix it.

What you'll learn in Fusion
  • Sizes you can change without redrawingUser parameters and expressions set the height, depth and material thickness, and every part follows.
  • Parts that move like the real thingA revolute joint hinges the door, and motion limits and contact sets stop it where a real door would.
  • Sketches that stay connectedConstraints and the Project tool tie each new sketch to the last one.


A 3D printable replacement knob for a guitar amp

If you've only printed other people's files so far, this is where you start designing your own. We measure a guitar amp knob with calipers and model a replacement, right down to the holes for its shaft and set screw.

What you'll learn in Fusion
  • A model from real measurementsCaliper readings become parameters, so you can adjust the fit after a test print.
  • Round parts and gripsRevolve, Circular Pattern and a tapered Extrude shape the disc and the knurled grip.
  • Files ready for your slicerSave As Mesh exports an STL or 3MF, and you'll learn when to edit a downloaded STL in Fusion.

A CNC parts tray designed for a router bit

This small tray shows you why inside corners need room for the bit, then takes you through Fusion's Manufacture workspace one setting at a time. You don't need your own machine to learn it.

What you'll learn in Fusion
  • Corners your bit can cutA round bit can't cut a sharp inside corner, so you'll size those corners to the bit you plan to use.
  • Cut paths set up in orderYou build a Tool Library for your bits and set the Stock to match your board, then plan the cuts with 2D Pocket and 2D Contour.
  • Problems caught before you cutSimulate shows every pass, and Post Process writes the file for your machine.

Why pay for this when YouTube is free?

You can learn Autodesk Fusion from free videos. It takes longer, because you have to work out what to learn and in what order. This course does that for you.

A free video answers one question and assumes you know the steps around it. Here, each lesson builds on the one before through a woodworking project, and you can ask in the comments under any lesson when you get stuck. The short lessons add up to just under 5 hours, and by the end you can model your own ideas in Fusion without hunting for a tutorial first.

Learn how to think through a 3D design.

Each short lesson walks you through one step in Fusion, and you can replay it whenever you need a reminder. The course saves your progress, and each chapter also comes as one full-length video.

  1. Get comfortable in Fusion

    We'll help you install Fusion, move around a model, and work out what your design needs to do before you draw a line.

  2. Turn measurements into parts

    You'll draw a shelf to size, give it thickness, and connect its dimensions to the rest of the bookcase.

  3. Check how it fits together

    You'll add a door that swings open and clears, preview wood finishes, and make dimensioned drawings for the shop.

  4. Prepare a model for 3D printing and CNC

    You'll export a model for 3D printing with room for parts to fit, and plan and simulate CNC cuts before exporting a machine file.

Try before you buy.

Pick a free lesson and watch it right here. When you're ready, explore the full course contents below.

Explore the full course contents
  1. Chapter 2: Designing in 3D

    • Principles, Intent and Change
  2. Chapter 3: Setting Up Your Workspace

    • Work Environments
    • Intent-Driven Design
    • Don't Get Overwhelmed
    • Customizing the Interface
    • The Browser Tree
    • Moving Around the Workspace
    • The Timeline
    • User Preferences
    • Your Stored Models
  3. Chapter 4: Sketching for Success

    • Intro to Sketching
    • Saving and Retrieving Projects
    • Setting User Parameters
    • Creating a Component
    • Component Color Swatches
    • Creating a New Sketch
    • Sketching Tools, Part 1
    • Constraints
    • Sketching Tools, Part 2
    • Your First Sketch, the Shelf Bounds
    • Projecting
    • Sketching the Shelves and Toe Kick
    • Patterning Tools
    • Construction Planes
  4. Chapter 5: Solid 3D Objects

    • Our Project's Design Intent
    • Turning Sketches Into the Top Panel, Side Panels, Shelves, Toe Kick and Back Panel
    • The Combine Tool
    • Miter Joints
    • Rounding Over Edges
  5. Chapter 6: Other Ways to Make Bodies

    • Time to Save
    • The Loft Tool
    • The Sweep Tool
    • The Revolve Tool
    • Primitive Shapes
    • Adding Threads
    • Section Analysis
    • The Hole Tool
  6. Chapter 7: Making It Look Real

    • Appearances
    • Adding Decals
    • Modeling With a Canvas
    • Working With SVG Files
    • Adding Joints and Moving Parts
    • Managing Joints With Contact Sets
    • Designing for Clearance
    • Tolerance Testers for 3D Printing and Laser Cutting, to Download
  7. Chapter 8: The Power of Parameters

    • Making Changes to Your Model
    • Practical Parameters
    • Text Parameters
  8. Chapter 9: Show It Off to Others

    • Rendering
    • Animation
    • Model Drawings
    • Shareable Links
  9. Chapter 10: Building a Model to 3D Print

    • Modeling the Amp Knob
  10. Chapter 11: 3D Printing

    • Saving for 3D Printing
    • Slicing With Fusion
    • Exporting Your Models to Slicing Software
  11. Chapter 12: A Model Example for CNC

    • Modeling the Parts Tray
  12. Chapter 13: Computer-Aided Machining (CAM)

    • Building Your Tool Library
    • Stock Setup
    • The Cut Path Menus
    • Post Processing
  13. Chapter 14: Overview of Advanced Features in Fusion

    • Form Modeling
    • Surface Modeling
    • Sheet Metal Folding
    • Scripts and Add-Ins
    • My First Fusion Add-In
  14. Bonus Quick Tips

    • Quick Tips
    • Extra Resources
  15. A Bonus Queen Bed Model Walkthrough

  16. Four Bonus Webinar Recordings

    • Modeling With Canvases
    • The Arrange Tool
    • Viewing Your Models in AR
    • Modeling the Podcast Studio Table

Start with a bookcase.

Your first project begins with a measured sketch and ends as a complete bookcase model. We'll guide you through the decisions, so you can bring the same approach to your own woodworking projects.

Now I'm building fully parametric cabinets of various complexity and branching into other more complex projects.

Justin A.

What you get

  • Short lessons and quizzes from installing Fusion through CAM, with each chapter also available as one full-length video
  • Guided projects for woodworking, 3D printing and CNC
  • Tolerance testers to download, plus a bonus queen bed walkthrough and four recorded webinars
  • Lifetime access, and the course remembers where you left off
  • Help from us and other students in the lesson comments

You'll need a computer that can run Autodesk Fusion. We'll show you how to get Autodesk's free personal-use license.

$180

or two monthly payments of $90

Get the course

Not happy? Get a refund anytime.

Join over 7,000 makers

What to know before you buy.

How long does it take?

The lessons are short, and together they run just under 5 hours. By the end, you'll know how to model furniture that resizes when you change a dimension, design parts to 3D print and set up toolpaths for a CNC. You set the pace, so you can watch a lesson, try it in Fusion and come back when you're ready. That runtime doesn't count the time you'll spend practicing on your own models.

Do I need any CAD experience?

No. The course is made for beginners. We start by installing Fusion and showing you how to find your way around the screen. Then we draw a measured sketch and turn it into the parts of a bookcase, one step at a time. You don't need to understand every menu before you start. If you've used other CAD software, the projects are a quick way to learn how Fusion handles editable dimensions and gets models ready for 3D printing and CNC.

Is Fusion good for woodworking?

Yes, especially for furniture you want to size to your space. Parameters let a bookcase or cabinet change size while every part follows, and drawings give you the dimensions to take into the shop. If you have a CNC router, Fusion can also plan the cuts.

Is Autodesk Fusion free, and what computer do I need?

Fusion is made by Autodesk and isn't included with the course, and you'll need a computer that can run it. Autodesk offers a free personal-use license for non-commercial projects, and the lessons use it. It has some limits compared with the paid plans, and Autodesk changes its plans from time to time, so check the current terms before you start. The first chapter shows you how to get it. Check Autodesk's current plans (opens in a new tab)

Do I need a 3D printer or a CNC?

No. You can model the knob and the tray without either machine. If you have one, the lessons show you how to get your model ready for it. The CNC lessons teach the workflow from a model to a machine file, including planning and simulating the cuts. You'll still need to learn your own machine and choose the right bits, cutting speeds and setup for your material.

Is it up to date with Fusion?

The lessons cover Fusion's recent changes, including text parameters, a feature Autodesk added in November 2025. Autodesk updates Fusion often, so now and then a button or menu may look different from the video. When that happens, check the comments under the chapter for help from other students.

What if I get stuck?

You can replay any lesson and work through the step again. If you're still stuck, ask us in the comments under that lesson. You can also read other students' questions and see how they got past the same step.

How do the two payments work?

At checkout, you choose one payment of $180 or two monthly payments of $90. Either way, you get the whole course right away.

Where do I watch the lessons after I buy?

The course lives on Podia. After you buy, you sign in to your student account at courses.iliketomakestuff.com and pick up where you left off.

How long do I have access?

Your purchase includes lifetime access to the course, so you can come back to a lesson whenever a project calls for it.

What if it's not right for me?

If you're not happy with the course, ask us for a refund at any time.